


Mastering Drywall Joint Tape for Flawless Walls
Drywall Joint Tape plays a crucial role in achieving smooth, flawless walls. When you master this technique, you unlock a world of benefits for your home improvement projects. Imagine transforming your living space with walls that look professionally finished. Many DIY enthusiasts find drywall taping challenging, with nearly 80% struggling to get it right. But don’t worry! With the right approach, you can conquer this task and enjoy the satisfaction of a job well done. Ready to dive in and make your walls look amazing?
Preparing for the Task
Getting ready to tackle drywall joint taping? Let’s make sure you have everything you need and your workspace is set up just right. This preparation will pave the way for a smooth and successful project.
Gathering Necessary Tools and Materials
Before you start, gather all the tools and materials you’ll need. Having everything at hand will save you time and frustration.
Essential Tools
You’ll need a few key tools to get started:
- Utility Knives: These are perfect for cutting drywall boards and trimming any excess paper. They help create a beveled edge on butt joints, making it easier for the tape and compound to settle smoothly.
- Drywall Taping Knives: Available in various sizes, these knives are essential for applying and smoothing joint compound. Use smaller knives for tight areas and larger ones for broader surfaces.
Recommended Materials
Stock up on these materials to ensure a seamless process:
- Drywall Tape: Choose between paper tape and mesh tape based on your project needs.
- Joint Compound: This is crucial for embedding the tape and creating a smooth finish. Make sure you have enough for multiple coats.
- Drywall Mud: You’ll spread this over the joints before applying the tape. It helps the tape adhere firmly and smoothly.
Preparing the Work Area
A well-prepared work area can make all the difference. Let’s get your space ready for action.
Cleaning and Inspecting the Surface
Start by cleaning the surface where you’ll apply the tape. Remove any dust or debris to ensure the tape adheres properly. Inspect the drywall for any imperfections or damage that might need fixing before you begin.
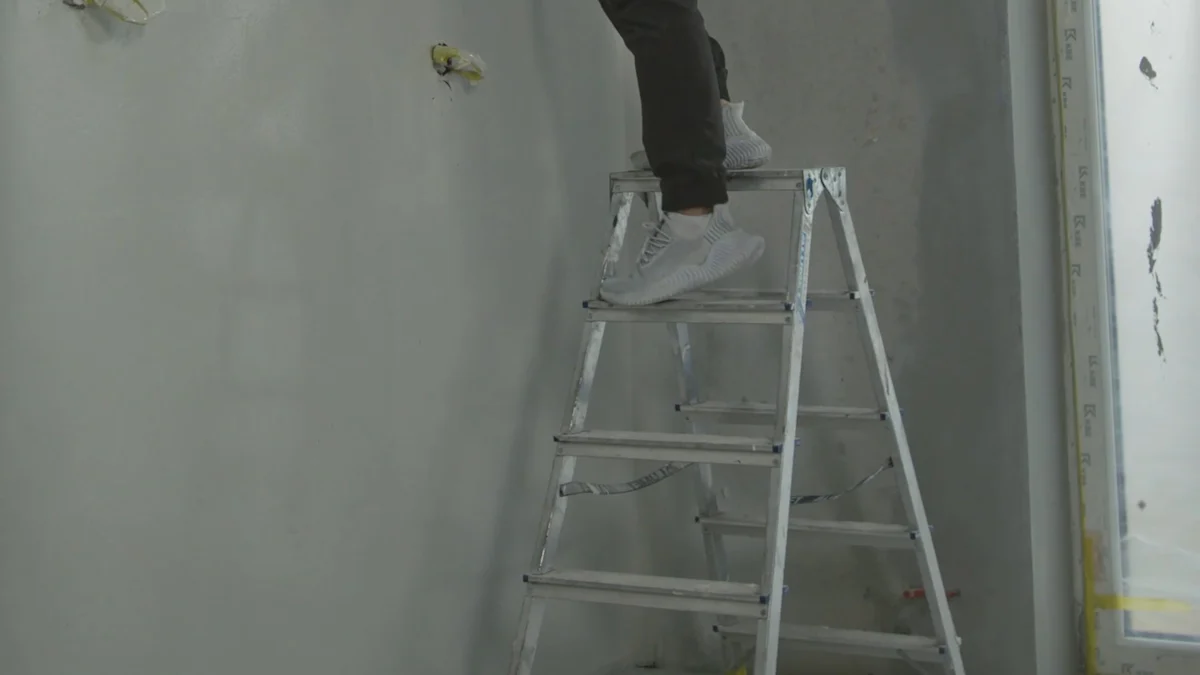
Setting Up a Safe Workspace
Safety first! Set up a workspace that allows you to move freely and safely. Ensure you have adequate lighting to see what you’re doing. Keep your tools organized and within easy reach to avoid unnecessary movement and potential accidents.
By preparing thoroughly, you’re setting yourself up for success. With the right tools, materials, and workspace, you’re ready to dive into the art of drywall joint taping.
Applying Drywall Joint Tape
Now that you’re all set up, it’s time to dive into the actual application of drywall joint tape. This section will guide you through choosing the right tape and applying it like a pro.
Choosing the Right Drywall Joint Tape
Selecting the appropriate drywall joint tape is crucial for a successful project. Let’s explore your options.
Paper Tape vs. Mesh Tape
You have two main types of drywall joint tape to choose from: paper tape and mesh tape. Each has its own advantages:
-
Paper Tape: This is the traditional choice. It’s strong and works well for most projects. You apply it over a layer of joint compound, which helps it adhere securely.
-
Mesh Tape: This tape is self-adhesive, making it easier to apply. It’s great for beginners and works well on flat seams. However, it might not be as strong as paper tape for corners.
Considerations for Different Projects
When deciding between paper and mesh tape, consider the specifics of your project. For example, if you’re working on a high-traffic area, paper tape might offer more durability. On the other hand, mesh tape can save time on simpler tasks. Think about the location and expected wear and tear to make the best choice.
Step-by-Step Application Process
With your tape selected, let’s move on to the application process. Follow these steps for a smooth finish.
Applying the First Coat of Compound
Start by applying a thin layer of joint compound over the seam. Use a drywall taping knife to spread it evenly. This layer acts as the base for your drywall joint tape.
Embedding the Drywall Joint Tape
Place the drywall joint tape over the wet compound. For paper tape, press it gently into the compound every 12 inches to ensure it sticks. If you’re using mesh tape, simply lay it down and press it lightly. Make sure there are no air bubbles by smoothing it out with your hand or a knife.
Expert Tip: "When embedding the tape, use a putty knife to press it firmly onto the mud. This helps secure it and creates a smooth finish." – Tips for Installing Drywall Tape Like a Pro
Applying Additional Coats
Once the tape is in place, apply another thin coat of joint compound over it. Feather the edges to blend it seamlessly with the wall. Allow this coat to dry completely before adding more layers. Typically, you’ll need two to three coats for a flawless finish. Remember to sand lightly between coats to maintain a smooth surface.
By following these steps, you can master the art of applying drywall joint tape. With practice, you’ll achieve professional-looking walls that enhance your home’s beauty.
Troubleshooting Common Issues
Even with careful preparation and application, you might encounter some common issues when working with drywall joint tape. Don’t worry—these problems are fixable. Let’s dive into how you can address them effectively.
Addressing Bubbles and Cracks
Bubbles and cracks can be frustrating, but understanding their causes helps you prevent them.
Causes of Bubbles
Bubbles often appear when air gets trapped under the drywall joint tape. This can happen if you don’t press the tape firmly enough into the joint compound. Another reason might be applying too thick a layer of compound initially, which doesn’t allow the tape to adhere properly.
Solutions for Cracks
Cracks usually form when the joint compound dries too quickly or if the tape isn’t embedded well. To fix cracks, apply a thin layer of compound over the affected area. Use your drywall taping knife to smooth it out. Let it dry completely before sanding lightly and applying another coat if necessary.
Ensuring a Smooth Finish
Achieving a smooth finish is key to professional-looking walls. Here’s how you can ensure your drywall joint tape work looks flawless.
Sanding Techniques
Sanding is crucial for a smooth finish. Use fine-grit sandpaper to gently sand the dried compound. Move in circular motions to avoid creating grooves. Be careful not to over-sand, as this can expose the tape and ruin the finish.
Final Touches
After sanding, wipe the surface with a damp cloth to remove dust. Apply a final thin coat of joint compound if needed. Feather the edges to blend seamlessly with the wall. Once dry, give it a final light sanding for a perfect finish.
Pro Tip: "Feathering out the joints is crucial for achieving a smooth finish and hiding the tape under the joint compound." – Tips for Installing Drywall Tape Like a Pro
By addressing these common issues and following these tips, you can master the art of using drywall joint tape. With practice, you’ll achieve walls that look like they were done by a professional. Remember, patience and attention to detail are your best tools in this process.
Expert Tips for a Professional Finish
You’ve come a long way in mastering drywall joint tape, but a few expert tips can elevate your work to a professional level. Let’s explore some strategies to enhance your efficiency and durability.
Pro Tips for Efficiency
Efficiency is key when working with drywall joint tape. Here are some time-saving techniques and common pitfalls to avoid:
Time-Saving Techniques
-
Organize Your Tools: Keep all your tools and materials within arm’s reach. This setup minimizes downtime and keeps you focused on the task.
-
Use the Right Knife Size: Choose the appropriate size of drywall taping knife for each task. Smaller knives work well for tight spaces, while larger ones cover more area quickly.
-
Pre-Mix Your Compound: Before starting, mix your joint compound thoroughly. A smooth, lump-free compound spreads more easily and speeds up the process.
-
Work in Sections: Tackle one section of the wall at a time. This approach helps maintain focus and ensures each part receives the attention it needs.
Drywall Finishers Insight: "Efficiency, attention to detail, and good knowledge of drywall tools, materials, and methods are crucial for a polished result."
Avoiding Common Mistakes
-
Don’t Rush the Drying Process: Allow each coat of joint compound to dry completely before applying the next. Rushing can lead to cracks and bubbles.
-
Avoid Over-Sanding: Sand lightly between coats. Over-sanding can expose the drywall joint tape and ruin the finish.
-
Check for Air Bubbles: After embedding the tape, run your hand over it to check for air bubbles. Smooth them out immediately to prevent future issues.
Enhancing Durability
Durability ensures your drywall joint tape work stands the test of time. Let’s look at how to choose the right compound and maintain your walls long-term.
Choosing the Right Compound
-
Consider the Environment: For humid areas, opt for a moisture-resistant joint compound. It prevents mold and ensures longevity.
-
Use Lightweight Compound: Lightweight compounds are easier to work with and reduce the risk of cracking. They also dry faster, saving you time.
-
Match Compound to Tape: Ensure your joint compound complements the type of drywall joint tape you’re using. This compatibility enhances adhesion and durability.
Long-term Maintenance
-
Regular Inspections: Check your walls periodically for signs of wear or damage. Early detection allows for quick repairs, maintaining the integrity of your work.
-
Touch-Up as Needed: Small cracks or imperfections can appear over time. Address them promptly with a thin layer of joint compound to keep your walls looking flawless.
-
Protect High-Traffic Areas: Consider adding a protective layer, like a coat of paint or sealant, in areas prone to wear and tear. This extra step prolongs the life of your drywall joint tape work.
By incorporating these expert tips, you can achieve a professional finish with your drywall joint tape projects. Remember, practice makes perfect, and attention to detail is your best ally. Happy taping!
You’ve now got the tools and tips to master drywall joint taping. Remember these key steps: gather your materials, choose the right tape, and apply it with care. Practice makes perfect. As you refine your skills, you’ll see your walls transform into smooth, professional surfaces.
Timothy’s Toolbox: "With patience, practice, and attention to detail, you can achieve a smooth, professional finish that will stand the test of time."
Don’t hesitate to share your experiences or ask questions. Your journey to flawless walls is just beginning. Happy taping!
Post time: Oct-22-2024
- English
- French
- German
- Portuguese
- Spanish
- Russian
- Japanese
- Korean
- Arabic
- Irish
- Greek
- Turkish
- Italian
- Danish
- Romanian
- Indonesian
- Czech
- Afrikaans
- Swedish
- Polish
- Basque
- Catalan
- Esperanto
- Hindi
- Lao
- Albanian
- Amharic
- Armenian
- Azerbaijani
- Belarusian
- Bengali
- Bosnian
- Bulgarian
- Cebuano
- Chichewa
- Corsican
- Croatian
- Dutch
- Estonian
- Filipino
- Finnish
- Frisian
- Galician
- Georgian
- Gujarati
- Haitian
- Hausa
- Hawaiian
- Hebrew
- Hmong
- Hungarian
- Icelandic
- Igbo
- Javanese
- Kannada
- Kazakh
- Khmer
- Kurdish
- Kyrgyz
- Latin
- Latvian
- Lithuanian
- Luxembou..
- Macedonian
- Malagasy
- Malay
- Malayalam
- Maltese
- Maori
- Marathi
- Mongolian
- Burmese
- Nepali
- Norwegian
- Pashto
- Persian
- Punjabi
- Serbian
- Sesotho
- Sinhala
- Slovak
- Slovenian
- Somali
- Samoan
- Scots Gaelic
- Shona
- Sindhi
- Sundanese
- Swahili
- Tajik
- Tamil
- Telugu
- Thai
- Ukrainian
- Urdu
- Uzbek
- Vietnamese
- Welsh
- Xhosa
- Yiddish
- Yoruba
- Zulu
- Kinyarwanda
- Tatar
- Oriya
- Turkmen
- Uyghur